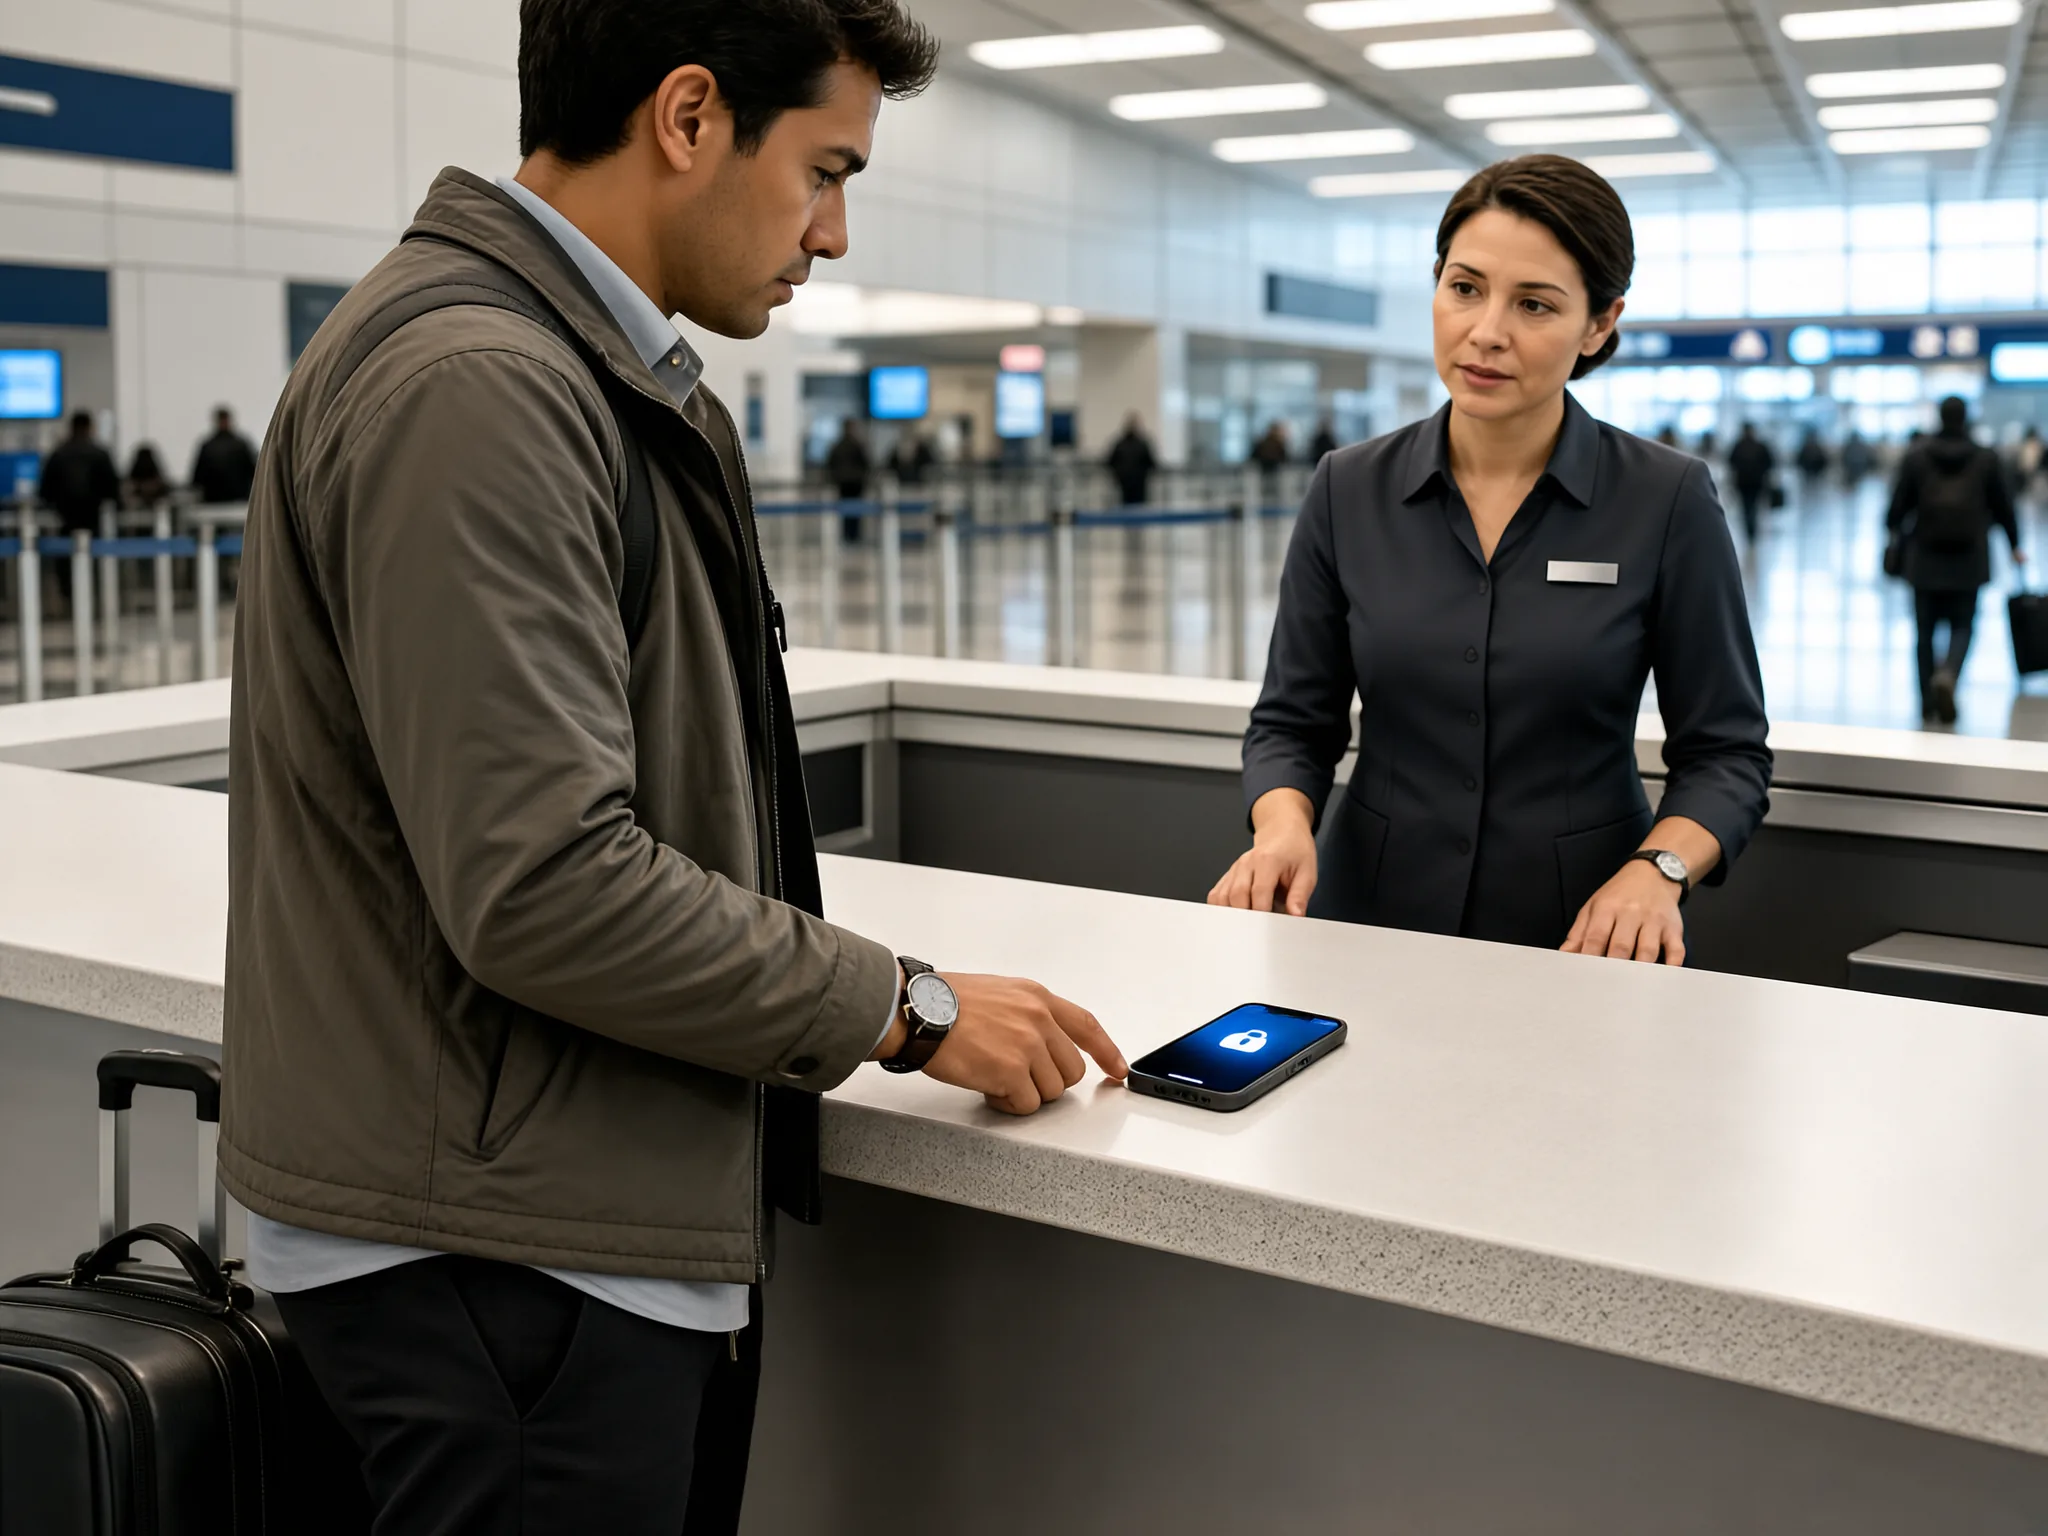
Most eSIM failures happen before you ever board the plane, not because the hardware is faulty but because the preparation and timing are wrong. The single biggest insight is that an eSIM is only as reliable as the environment in which you install it and the settings you adjust after it is active. Treat the process as a three-stage sequence: purchase and compatibility check, home installation, and on-arrival configuration. Miss any stage and the data plan will appear dead even though the profile is sitting on your phone.
This guide focuses on the concrete errors travelers repeat most often, explains why each one breaks the connection, and gives exact steps to prevent it. You will learn how to verify network support before checkout, how to keep the QR code readable until the final scan, and how to toggle the roaming switch that makes the eSIM discoverable abroad. Follow the advice below and you will avoid the four most common traps that turn a budget-friendly data plan into a brick.
Why Buying the Wrong Plan Silently Breaks Your Connection
The first mistake is choosing a plan that your device and your destination do not support. Many travelers assume every eSIM works on every phone, but carrier locking and regional band differences can block the signal even when the profile installs correctly. Check that your phone is carrier-unlocked and that the provider lists your specific destination countries in the coverage table. A plan that covers “Europe” may still exclude certain rural networks, leaving you with no service outside major cities.
Another silent killer is the data allowance mismatch. A plan that offers 5 GB is sufficient for navigation and messaging, but video streaming will exhaust it in a day. Read the fair-usage policy before purchase;
some providers throttle speeds after a threshold rather than cutting off entirely, which can make maps sluggish without warning. Match the plan to your actual daily consumption, not an optimistic estimate.
Installation Timing and Environment Errors
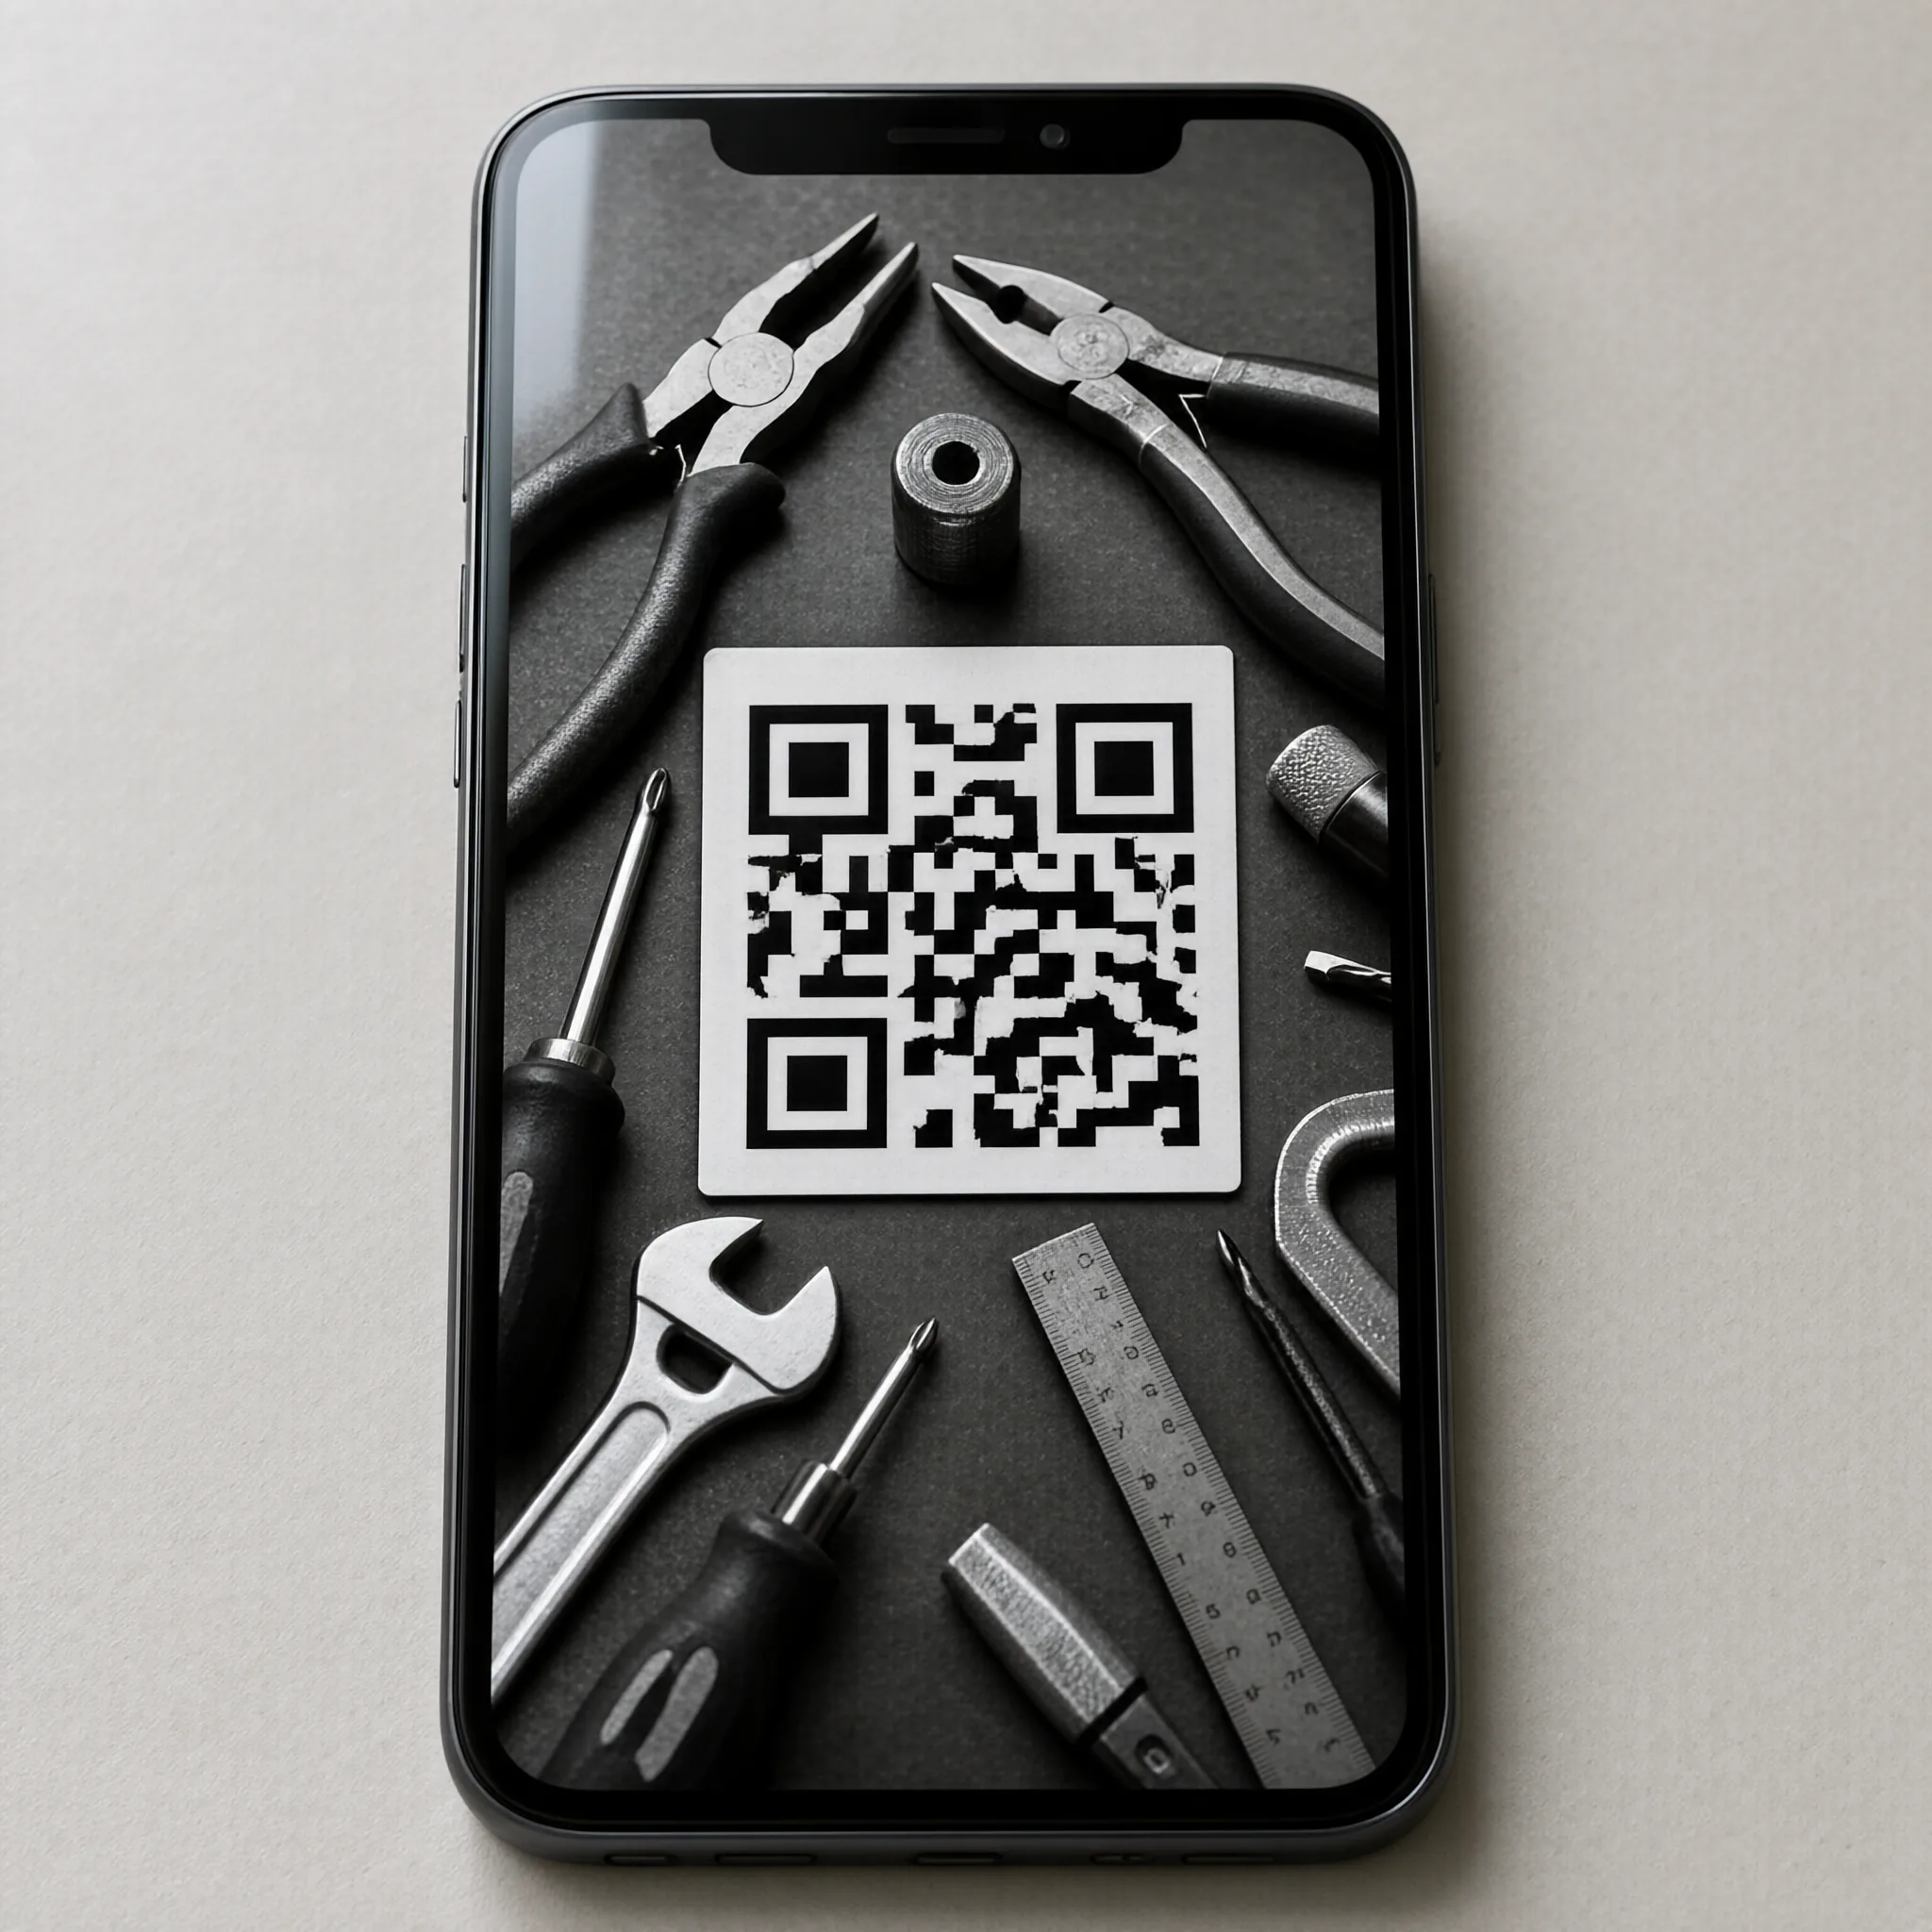
Waiting until you land to scan the QR code is the second most common error. Most providers activate the countdown only when the device connects to a foreign network, yet the installation itself can be interrupted by poor Wi-Fi or low battery. Buy the eSIM at least two days before departure and complete the scan at home on a stable connection with the phone charged above fifty percent. Keep the QR code visible on a second device or printed as a backup;
if the camera fails, switch to manual entry instead of repeating the same failed scan.
After installation, resist the urge to delete the previous cellular profile immediately. Some phones need the old line to remain as a fallback while the new eSIM registers with the network. Remove it only after you have confirmed that the eSIM shows “Ready” in the settings menu and that you can send a test SMS or open a web page using mobile data.
Roaming and Default Line Settings That Block Data
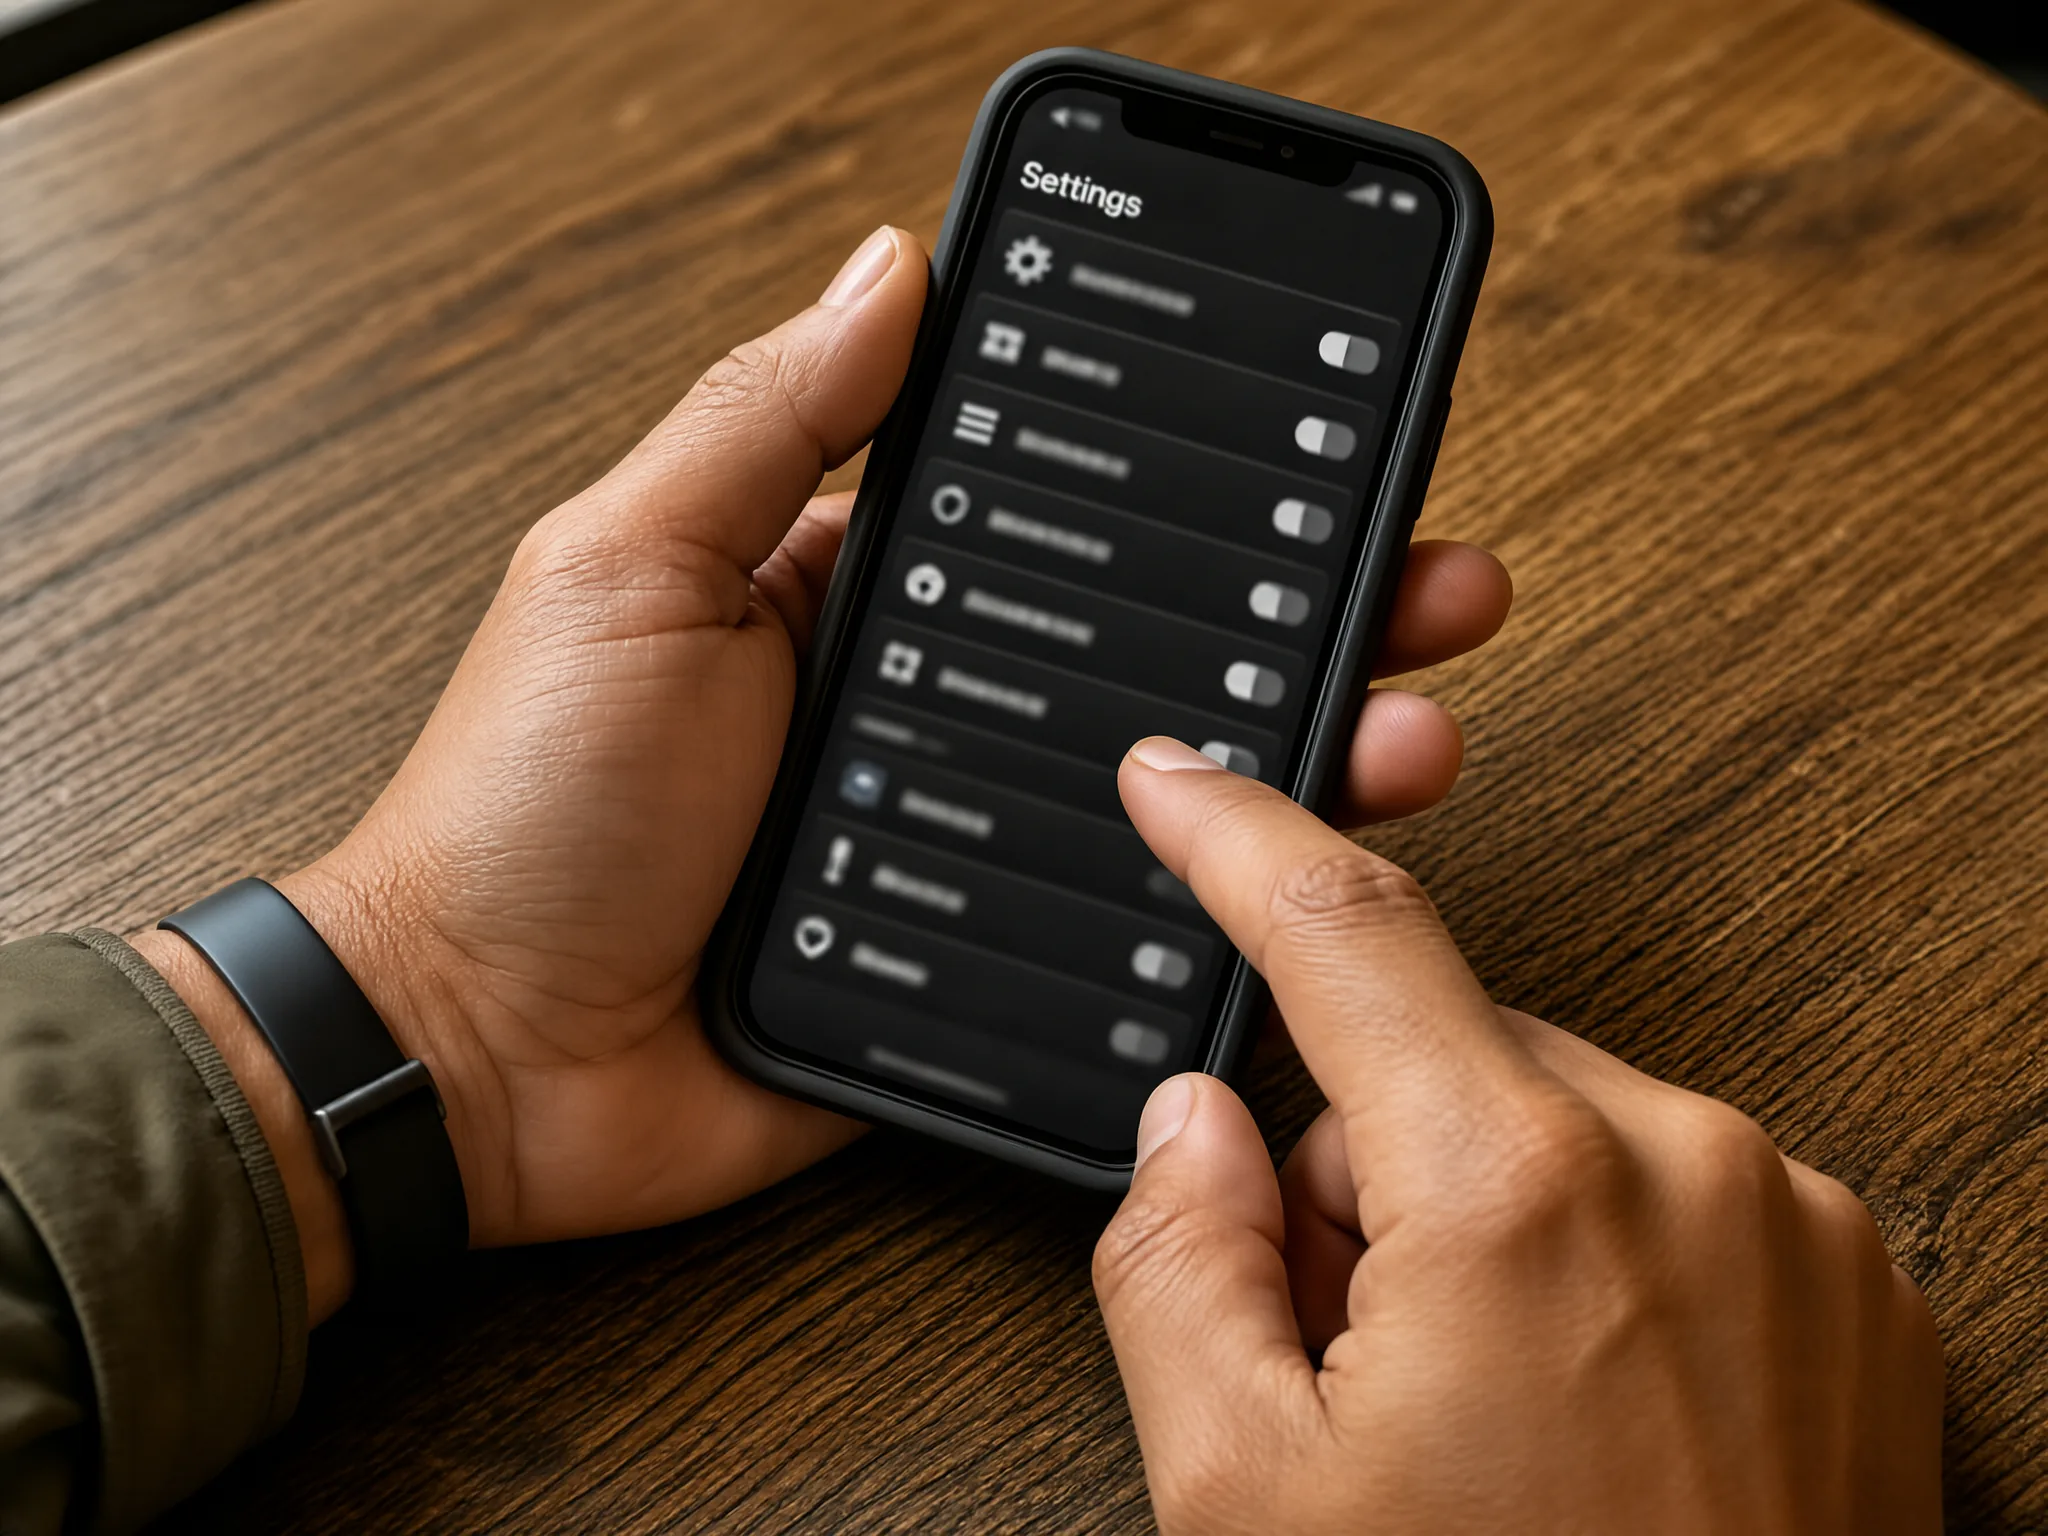
Even a perfectly installed eSIM will not connect abroad if the Data Roaming toggle is switched off. This setting lives in different places on different operating systems: on iOS it sits under Cellular > Cellular Data Options, while on Android it appears under Network & Internet > Mobile Network. Enable roaming specifically for the eSIM line, not for the primary physical SIM, to avoid accidental charges on your home plan.
A second subtlety is the default line selection. Phones often default to the physical SIM for voice calls, which can force the device to search for a signal on a network that does not exist in your destination. Set the eSIM as the default for data and, if your provider allows, for voice as well. Wait two to three minutes after toggling these settings for the phone to lock onto the local carrier;
rushing to open an app will only create the illusion that the connection is missing.
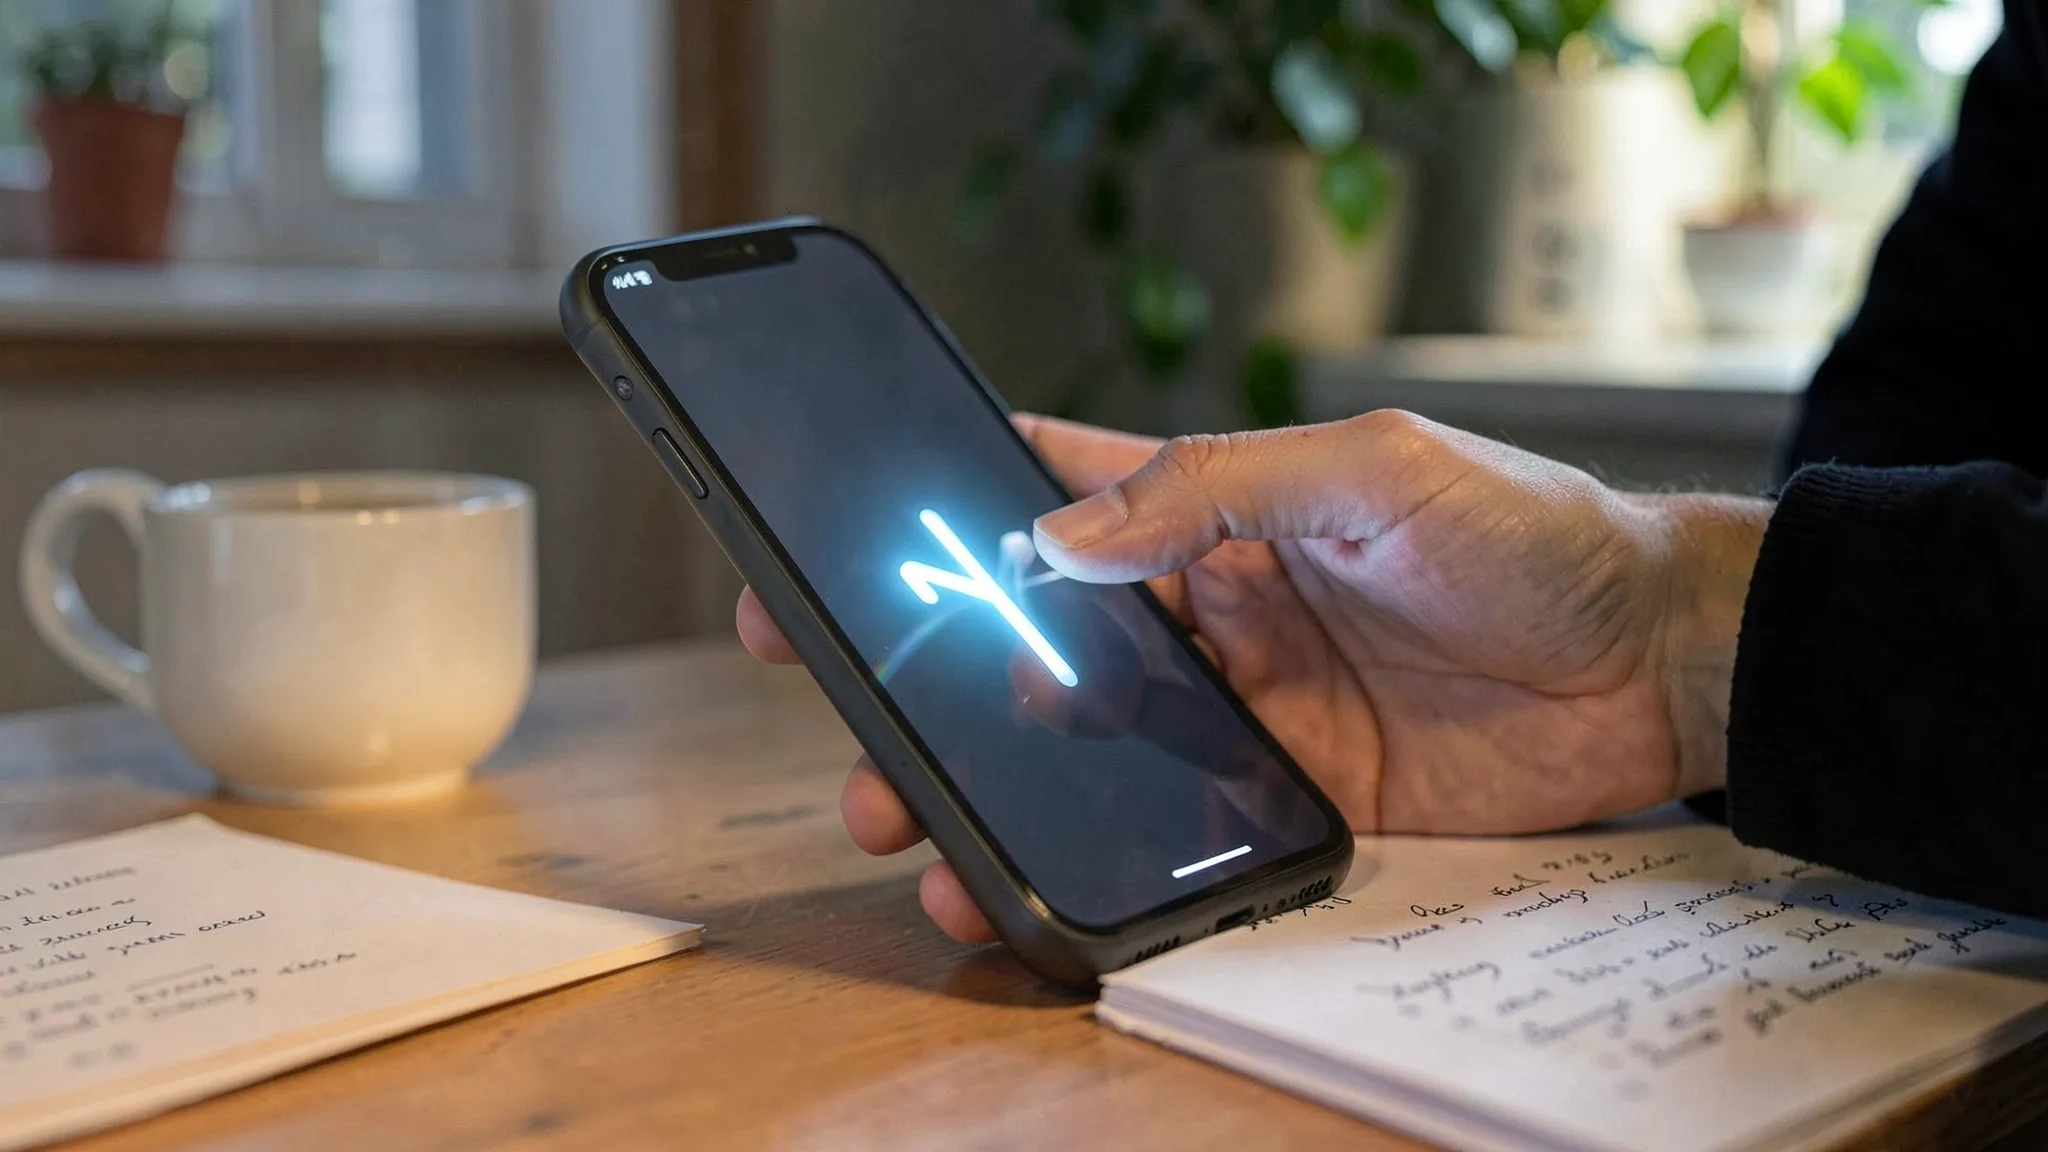
What to Do When the eSIM Shows “No Service”
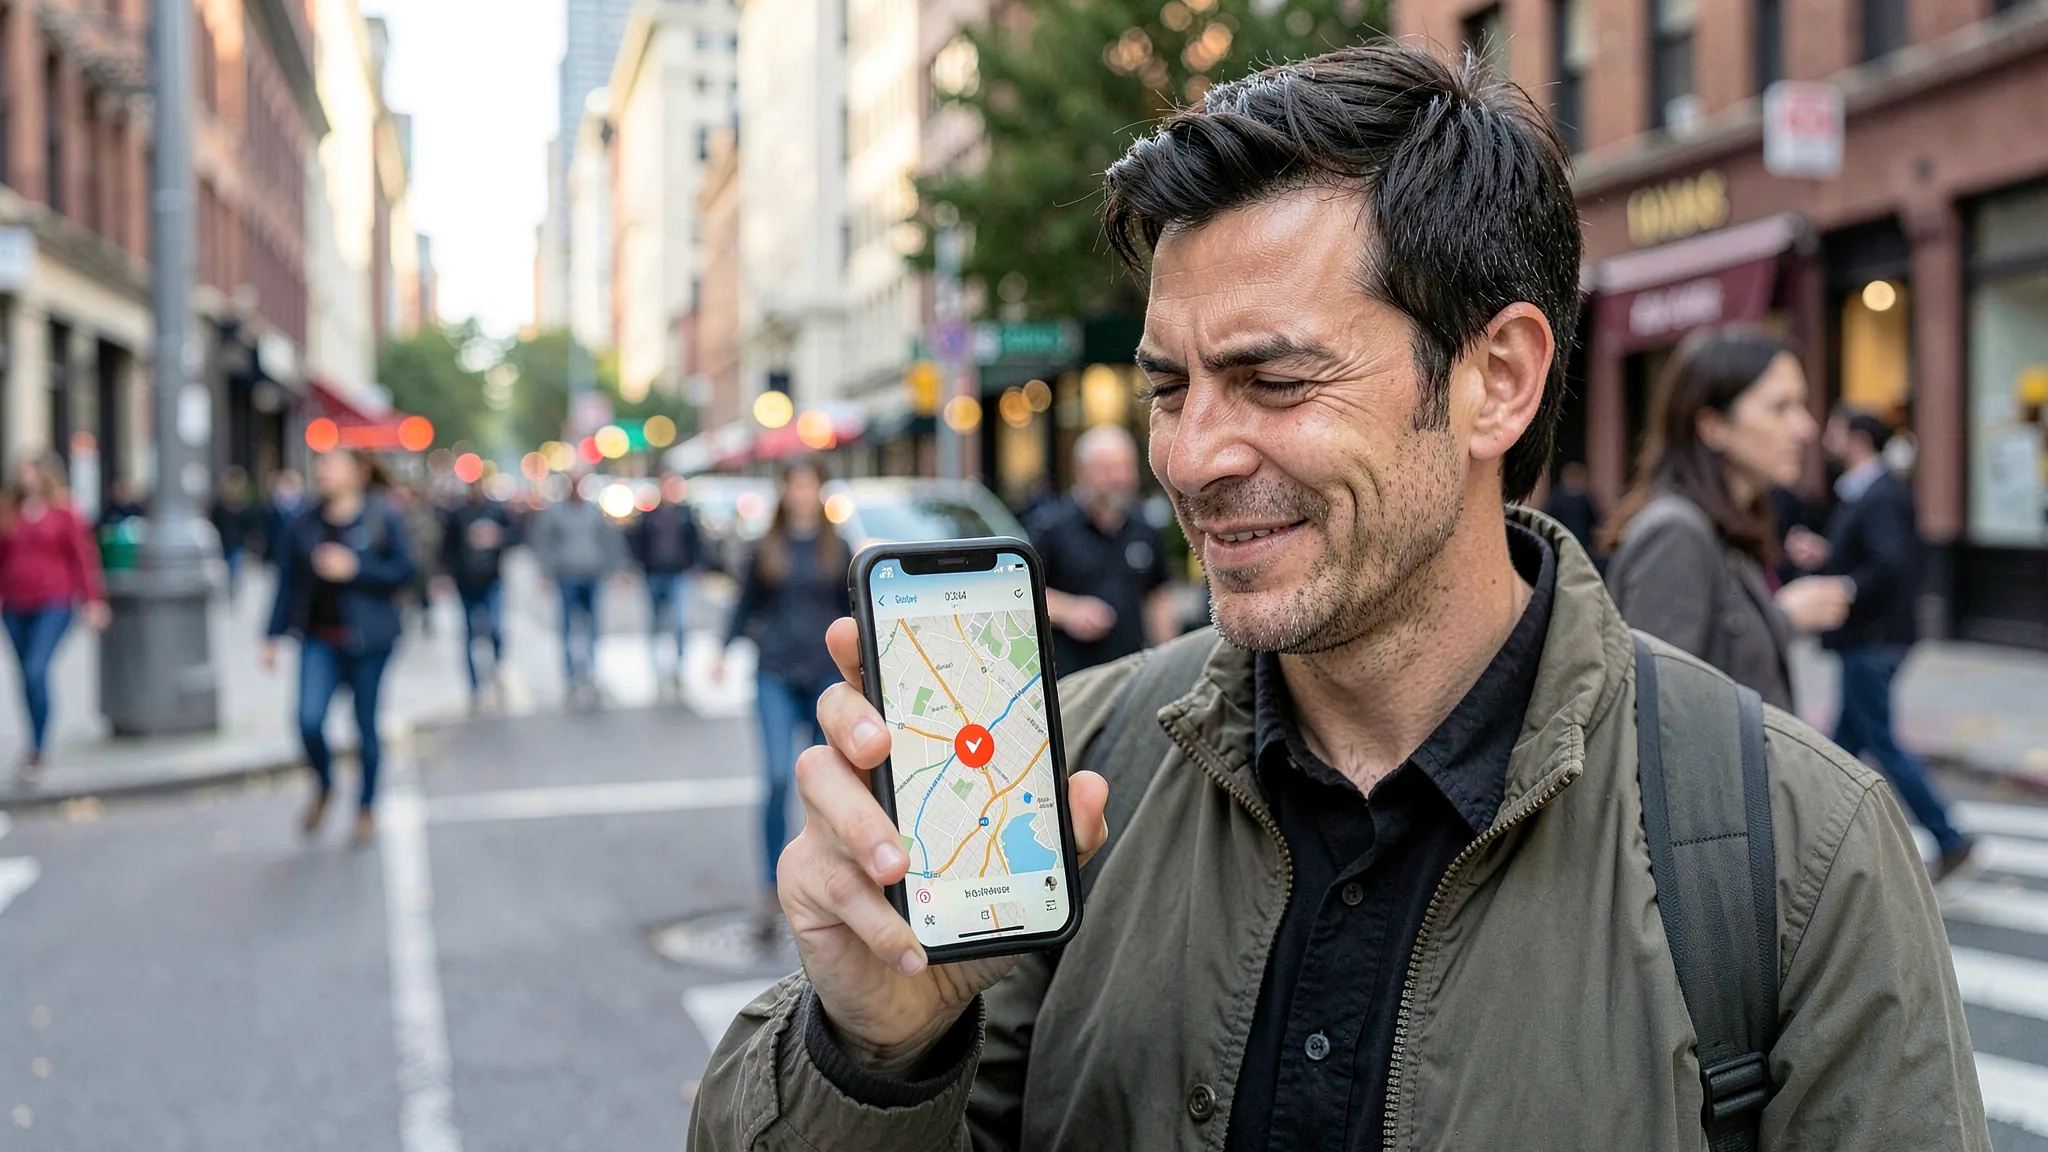
When the status bar displays no signal bars, start by confirming that airplane mode is disabled and that mobile data is turned on for the eSIM. Restart the device to refresh the network registration;
many transient glitches clear with a reboot. If the problem persists, open the eSIM details screen and verify that the profile has not expired and that the activation code was fully consumed. A partial scan can leave the profile in a limbo state that looks complete but is not.
Should the issue continue, toggle Airplane Mode on and off to force the radio to rescan available networks. If your phone supports dual SIM, switch the default line back and forth once. As a final step, contact the provider’s support with screenshots of the error and the timestamp;
they can push a remote reset or issue a replacement QR code. Keep a local offline map and a pocket Wi-Fi rental as backup until the eSIM is fully functional.
By treating the eSIM setup as a sequence of small, verifiable actions rather than a single scan, you eliminate the four failure points that dominate traveler complaints. Verify compatibility before checkout, install at home with strong Wi-Fi, enable roaming abroad, and troubleshoot methodically when signal bars disappear. With these habits in place, the eSIM becomes the reliable gateway it was sold to be.