
If you’re planning a trip to Japan—whether it’s your first time or you’re a seasoned visitor—staying connected is essential. From navigating the intricate train systems to
First, let’s talk about why eSIMs have become the go‑to for Japan travel. Japan’s mobile infrastructure is exceptional. The three major carriers—NTT Docomo, au (KDDI), and SoftBank—offer extensive 4G and 5G coverage across the country. In cities like Tokyo, Osaka, and Kyoto, you’ll have high‑speed data almost everywhere. Even in rural areas like the Japanese Alps or the islands of Okinawa, coverage is reliable, especially on NTT Docomo’s network. An eSIM lets you connect to these networks without the hassle of finding a physical SIM card at the airport.
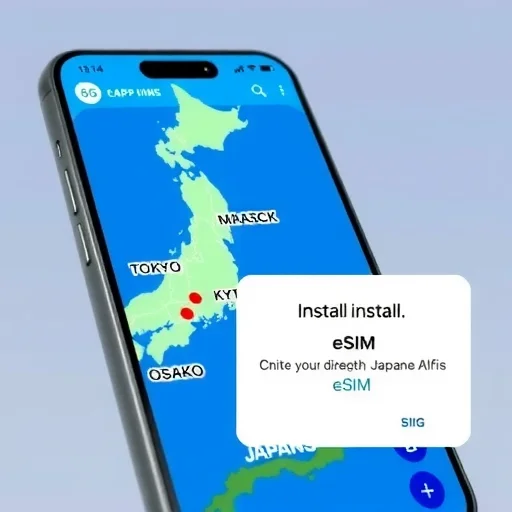
So, how does an eSIM for Japan work? You purchase an eSIM plan online from a provider before your trip. You’ll receive a QR code via email. On your phone, you go to Settings > Cellular > Add Cellular Plan, scan the QR code, and the eSIM is installed. Most eSIMs activate when you arrive in Japan and connect to the local network. You can keep your home SIM active for calls and texts (if your phone supports dual SIM) while using the eSIM for data. This way, you avoid expensive roaming charges and have data the moment you land.
Now, let’s look at the best eSIM options for Japan. There are several excellent providers, each with its own strengths.
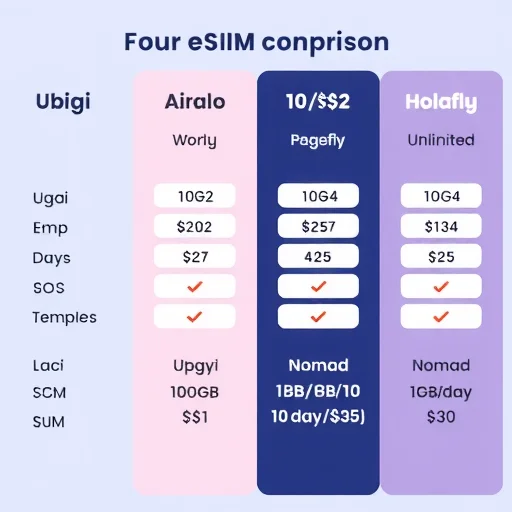
**Ubigi** is one of the most popular choices for Japan. It uses NTT Docomo’s network, which has the widest coverage, including rural areas. Ubigi offers data plans ranging from 1GB to 10GB, with 5G included. A 10GB plan for 30 days costs around $22. Ubigi’s app is easy to use, and installation is straightforward. If you want the most reliable coverage, especially if you’re traveling outside major cities, Ubigi is an excellent choice.
**Airalo** is another top contender. Airalo offers Japan plans on both SoftBank and NTT Docomo networks, depending on the plan. Their plans range from 1GB to 20GB, with 5G in supported areas. Airalo’s app is user‑friendly, and they have responsive customer support. A 10GB plan for 30 days costs around $20–$25. Airalo is a solid all‑around choice.
**Holafly** specializes in unlimited data plans. If you’re a heavy data user—streaming video, joining video calls, or just wanting peace of mind—Holafly’s unlimited Japan eSIM is a great option. It uses NTT Docomo’s network and offers 5G. Plans start at around $25 for 5 days, scaling up to $65 for 15 days. While more expensive than fixed‑total plans, it’s perfect for those who don’t want to worry about data caps.
**Nomad** offers both fixed‑total and daily‑cap plans for Japan. Their daily‑cap plans (e.g., 1GB per day) are popular for travelers who want predictable usage. Nomad’s plans typically use NTT Docomo or SoftBank. Prices are competitive, and the app is easy to navigate.
Now, let’s talk about which eSIM to choose based on your travel style.
**If you’re a light user** (maps, social media, messaging), a 5GB plan from Ubigi or Airalo is plenty for a 10‑day trip. You’ll spend around $15–$20.
**If you’re a moderate user** (maps, social media, streaming music, occasional video calls), a 10GB plan gives you comfortable breathing room. Ubigi, Airalo, and Nomad all offer this.
**If you’re a heavy user** (video streaming, frequent video calls, tethering), Holafly’s unlimited plan is ideal. You won’t have to worry about running out of data.
**If you’re traveling to rural Japan** (the Japanese Alps, Shikoku, or remote islands), prioritize an eSIM that uses NTT Docomo’s network. Ubigi and Holafly both use Docomo, and some Airalo plans do as well.
Now, let’s walk through the process of getting and using an eSIM for Japan.
**Check your phone**: Ensure your phone is unlocked and eSIM‑compatible. Most modern iPhones (XS and newer) and many Android phones (Pixel 3 and newer, Samsung S20 and newer) support eSIM.
**Choose a provider**: Based on your data needs and itinerary, select an eSIM provider.
**Purchase and install**: Buy the plan online. You’ll receive a QR code. Scan it in Settings > Cellular > Add Cellular Plan. You can install it before you leave; it will activate when you arrive.
**Upon arrival**: When you land in Japan, turn on the eSIM (if not already active). Your phone will connect to the local network. Set the eSIM as your data line. You can keep your home SIM active for calls if your phone supports dual SIM.
**Manage usage**: Most eSIM providers have apps where you can check your data usage. Top up if needed.
I’ve used eSIMs for multiple trips to Japan, and the experience has been seamless. On a recent trip, I used Ubigi’s 10GB plan. I installed it before departure, and as soon as I landed at Narita, I had data. I used it for Google Maps to navigate trains, Google Translate for menus, and WhatsApp to stay in touch. The connection was fast and reliable, even on the Shinkansen between Tokyo and Kyoto. I never had to hunt for a Wi‑Fi hotspot or worry about running out of data.
In summary, an eSIM is the best way to stay connected when traveling in Japan. It’s convenient, affordable, and gives you access to Japan’s excellent mobile networks. Whether you choose Ubigi for its Docomo coverage, Airalo for its flexibility, or Holafly for unlimited data, you’ll have reliable connectivity from the moment you arrive. No more hunting for SIM cards at the airport, no more language barriers, no more expensive roaming. Just fast, reliable data to help you explore Japan with confidence. For travel in Japan, an eSIM is the most convenient and reliable way to stay connected. Providers like Ubigi (NTT Docomo network), Airalo, and Holafly offer plans tailored to different data needs. eSIMs can be installed before departure, activate upon arrival, and work with Japan’s excellent 5G and 4G networks. Choose based on your itinerary and data usage.
TravelConnectivityTipsFINISHED
Used Ubigi for 2 weeks in Japan. Had 5G in Tokyo, Kyoto, and even in the Japanese Alps. Installation was easy before I left. 10GB was plenty for maps, social media, and video calls. Highly recommend for Japan travel.
I used Airalo for a 10-day trip. 5GB was enough for maps, Instagram, and WhatsApp. The QR code setup was simple. Worked great in Tokyo and Osaka.
I’m a heavy user—streaming and video calls—so I used Holafly’s unlimited eSIM. Worth every yen. Never worried about data. 5G was fast everywhere in the cities.
Important tip: Make sure your phone is unlocked! I almost bought an eSIM without checking. A quick call to my carrier confirmed it was unlocked. Don’t skip this step.
If you’re going to rural Japan, go with Ubigi (Docomo network). I had coverage in places where friends on other eSIMs didn’t. Worth the extra few dollars.